This past fall I had the privilege of taking a 10 year college reunion vacation with my college roommates/best friends. We decided on Portland because it was a new place for all of us and one that we have heard great things about in the past. For the first time in my life, my high expectations were truly exceeded, Portland was MAGICAL. If you know me well, you know that I am quite shy and that I don’t often talk to strangers, well not Portland Danielle, I was having full on conversations with uber drivers, feeding the homeless, asking baristas what their favorite drink was on the menu, actively looking for an opportunity to meet the members of my favorite band, Ages and Ages, and smiling while walking in the rain … Portland. Was. PERFECT! We stayed in the cutest AirBNB along a street packed with culture, unique shops, vegan and vegetarian restaurants, a kombucha bar and a double decker bus that was actually a tea place! We stayed up late doing nails, sipping tea, chatting and acting like we did when we all lived together. One of my roommates Traci is an incredible artist and she documented the joy of that trip perfectly in one of her daily drawings. She creates a Daily “Quipple” which is an inspirational drawing or quote and if you sign up, it gets delivered to your inbox every single day! In college she would literally document every single day with drawings of “us” that we housed in “the book.” This was one of her inspirations for creating the Daily Quipple! Please check it out, she’s AMAZING! Click on the picture to see more of her amazing work and to learn more of her story!!

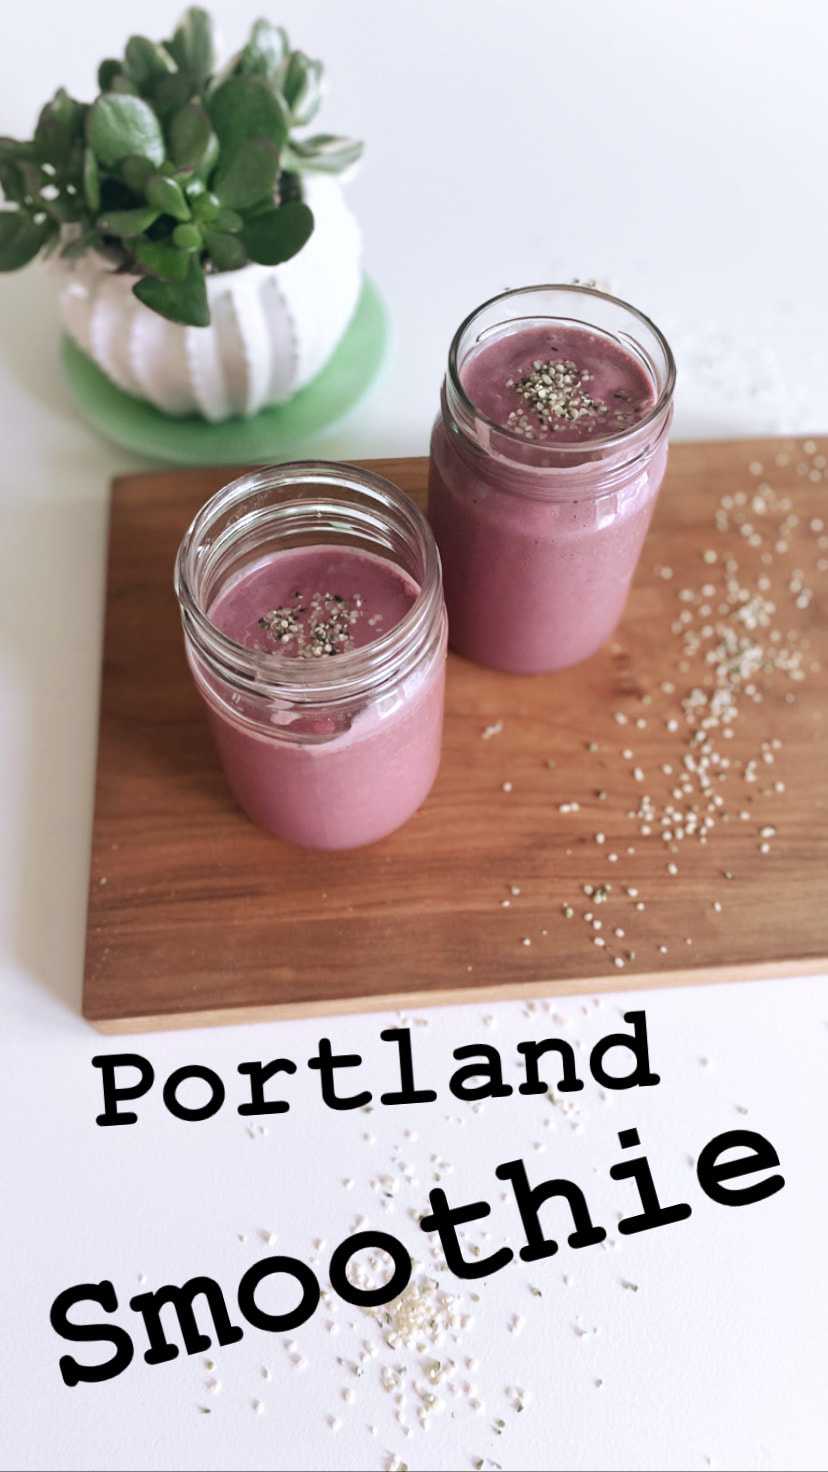
Anyway, back to food. My other roommate/best friend, Olivia, found this great smoothie place for us to have breakfast at and we went every day while we were there. I ordered the same smoothie each day and have been dreaming about that smoothie since our trip to Portland. It has been my mission to recreate it as best as I could... so, today, I decided to and.. WOW, I did it! This is my dedication to Portland, my soul city, and one that showed me one of the best vacations of my life!!! Cheers to soul friends, soul cities, health and happiness!
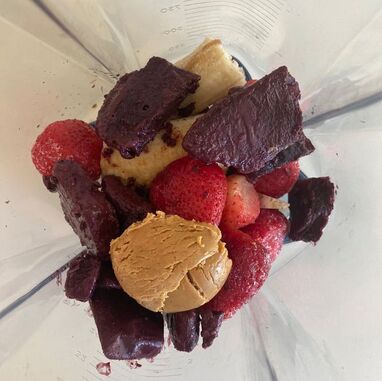
Ingredients (makes one large or two small smoothies)
1 frozen banana ½ cup frozen strawberries 1.5 cups unsweetened almond milk 1-1.5 T creamy peanut butter 1 tsp vanilla extract 1 acai packet (can be found at Trader Joes in the frozen aisle) Sprinkle of raw hemp seeds Directions to enjoy right NOW!
Directions to Make Ahead
0 Comments
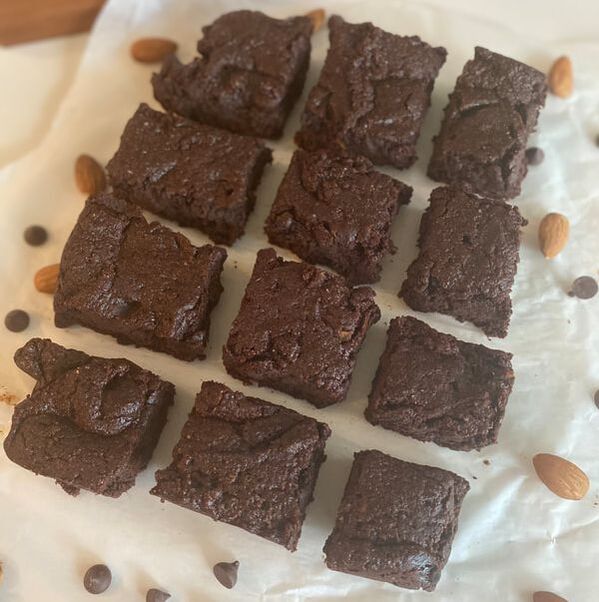
I always love a good recipe that sneaks in vegetables and other nutritious ingredients without sacrificing any of what we all crave. These brownies are inspired by the leftover sweet potato that has been sitting on my counter since last weekend + a strong craving for chocolate! My friend Dave got me interested in Cacao powder and I decided to give it a try in these brownies as well and they turned out GREAT! The best part of these brownies is that they are AMAZING as leftovers straight from the fridge. They take on a fudge like quality and can be enjoyed all week!
Ingredients 1 cup almond flour ½ cup of Cacao Powder (or cocoa powder) ¾ cup of coconut sugar or white sugar 1tsp baking powder 2 flax eggs (2T ground flax + 6T water) ¼ cup unsweetened almond milk ¾ cups of chocolate chips (make sure they are vegan) ½ cup coconut oil ½ tsp vanilla extract ⅓ cup creamy almond butter 1 cup cooked and mashed sweet potato **see notes Directions
NOTES *** These brownies are moist and fudgy, they may look like they are not done, but they are! Make sure you let them cool completely before cutting, eating and enjoying. ** SUPER EASY Sweet Potato Mash
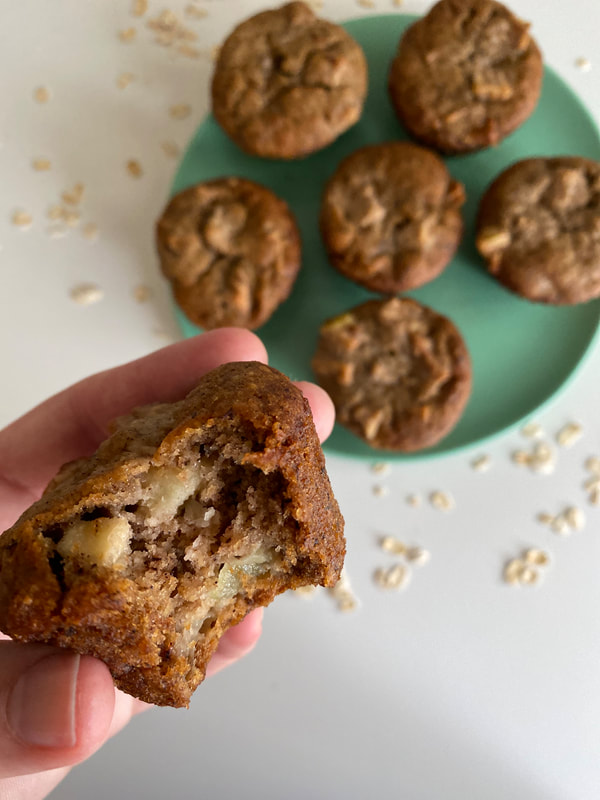
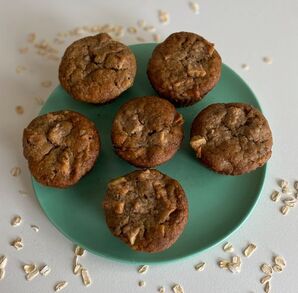
Does anyone remember that silly song, I like to eat apples and bananas?” Creating these muffins brought me back to those fun lyrics, and truly made me miss my students even more! I always sing this song for my 1st graders around this time of the year, and now with the distance learning taking place, I am really truly missing seeing their faces light up when we do fun silly songs such as this one. Anyway, back to the world of food. These VEGAN muffins are stuffed with plant based goodness and are easy to make and a fun breakfast treat you can enjoy throughout the week. I also snuck in some protein with the addition of the oat flour, which, if you haven’t tried making oat flour before, is VERY easy. You simply add whole oats to a blender and blend until it looks like flour! I use oat flour in pancakes too, so I always make a bunch and store it in a large airtight container for easy use! I hope you enjoy these muffins! If you make them tag us on social media!

Ingredients (makes 12 muffins)
1 flax egg (1T ground flax + 1.5T water) - you can also use 1 chicken egg if not vegan 2 overripe bananas mashed ½ cup brown sugar ½ cup avocado oil ½ tsp vanilla 2T unsweetened plain almond milk (or any other non dairy milk) ½ cup oat flour (oats ground up in high speed blender into flour) 1 cup all purpose flour 1+1/2 tsp baking powder 1tsp cinnamon 1 heaping cup of peeled green apples diced very small 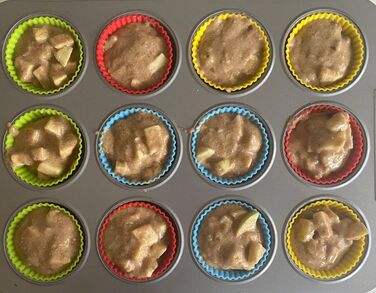
Directions (updated 05/05/20)
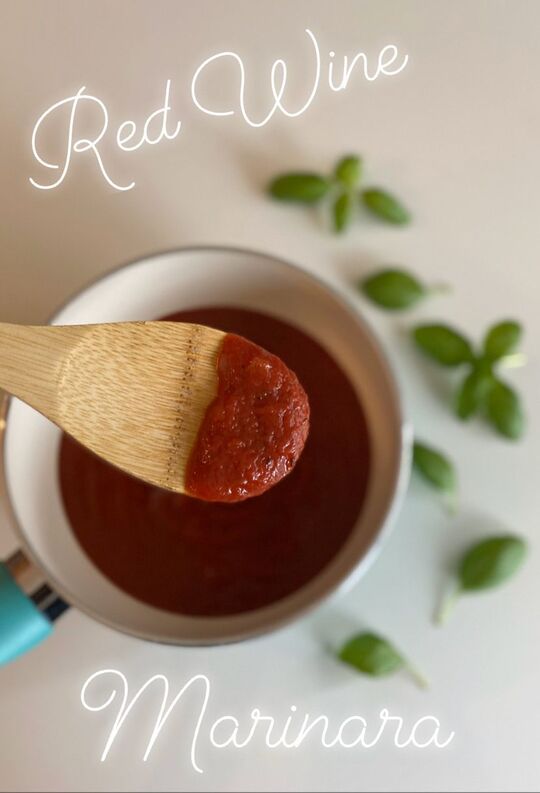
For those of you who don’t know, I come from an amazing and rather large extended Italian family. My great grandma, Nana, and grandma, whom we call Mima, along with my mom and all of her five brothers are amazing cooks! When I was growing up we used to gather at Mima and Papa’s house for weekly Sunday dinners where we almost always had pasta. I loved Spaghetti dinners so much and these dinners have always been some of my favorite childhood memories. Before I left for college many years ago, I asked my Mima to show me how to make her marinara sauce. She told me that fennel was the KEY to the tanginess, and that red wine really added depth of flavor. I hope you enjoy this simple Red Wine Marinara sauce that is even BETTER the next day and therefore perfect for your Make Ahead of Monday needs! Bon Appetit!
Ingredients
½ yellow onion chopped 2 cloves of garlic minced 1T olive oil 4 - 16oz cans of organic tomato sauce 2 tsp crushed fennel seed (or more for taste) 2 - 3 T of dry red wine 2 tsp dried basil or 4 tsp chopped fresh basil Dash of salt 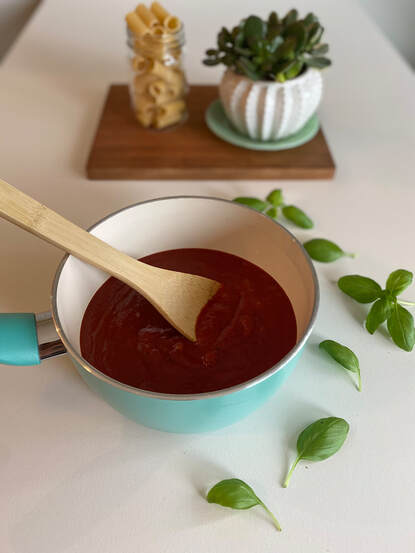
Directions
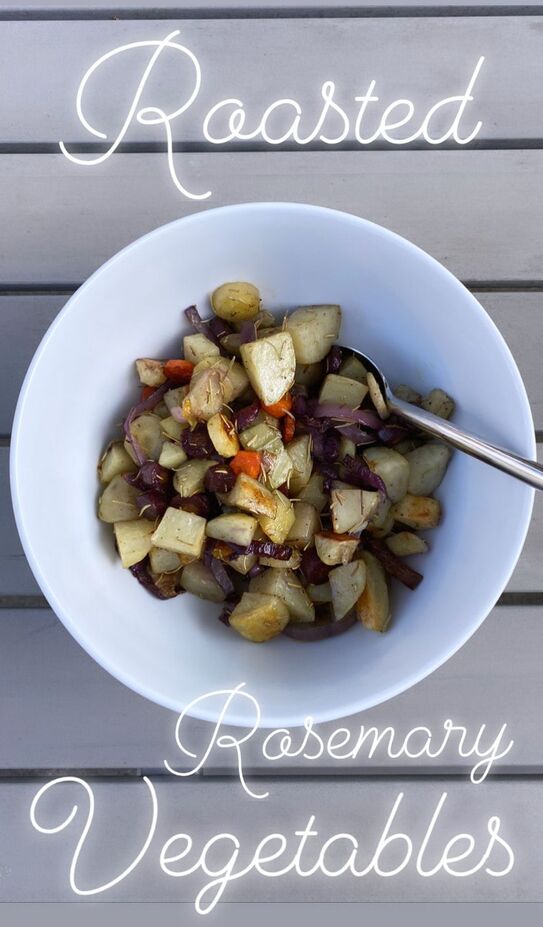
Growing up I used to dislike vegetable sides at dinner. I think during most of the 90’s people were eating vegetables out of a can and they lacked flavor, crunch and pazazz. Fast forward to Easter a few years ago when I was asked to bring a veggie side dish. Ugh. So I decided to try something new. I knew that I liked roasted vegetables such as potatoes and carrots and onions, but I wanted them to have more warmth and flavor so I decided to open the spice cabinet and smell all of the spices until I decided on rosemary. This was one of the first recipes I created and I loved how it turned out. Since then I have eaten it as a side, or have even made it my main with the addition of pesto and a cut up veggie sausage. These roasted veggies are perfect for a healthy side dish with lunch or dinner, they last a week in the fridge and can be enjoyed throughout the week!
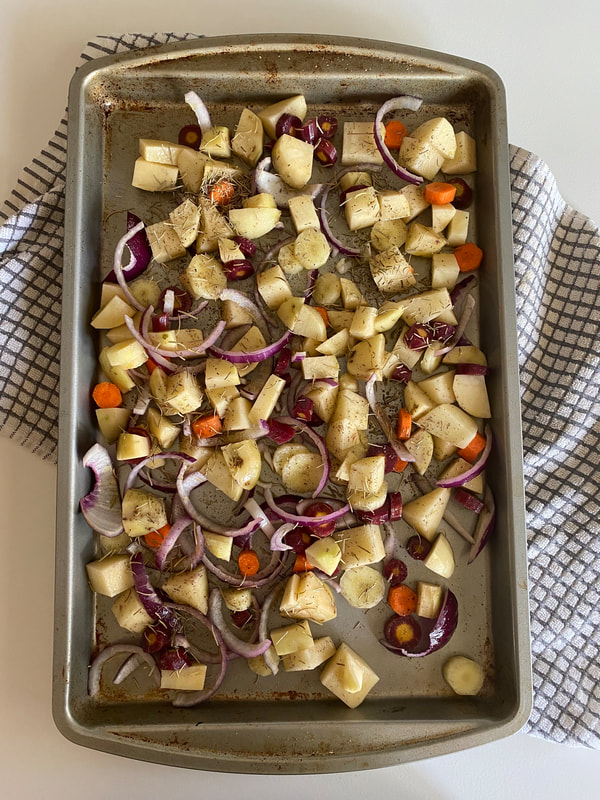
Ingredients 5 red potatoes peeled and chopped into bite-sized pieces 4 large carrots peeled and diced into coins ½ red onion sliced into ½ inch slices Olive oil ½ tsp salt ¼ tsp pepper 2T chopped fresh rosemary or use 1T of chopped dried rosemary 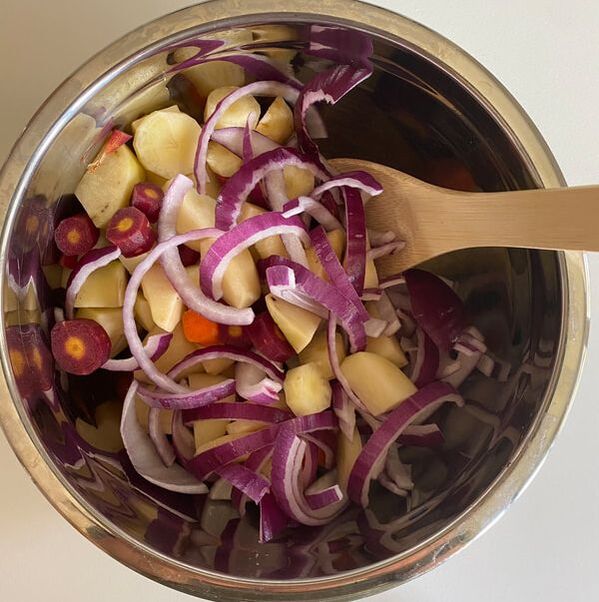
Directions 3-4 servings
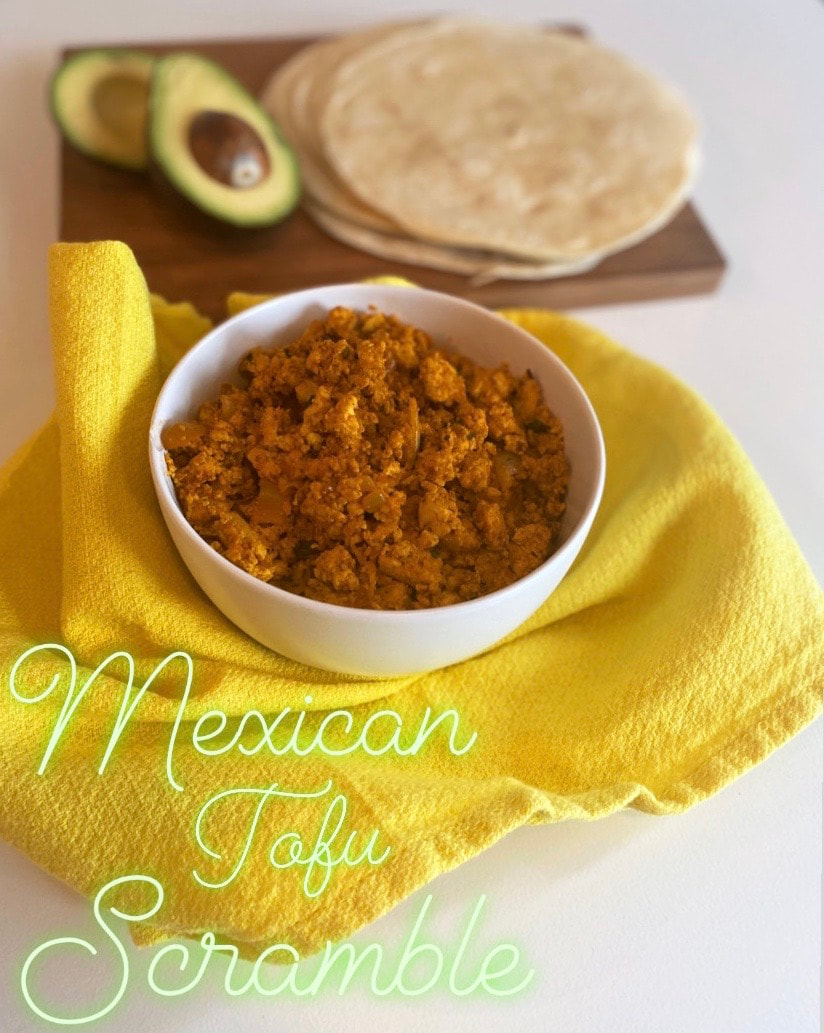
When my husband and I first decided to go vegan, one of the first breakfast recipes we sought was something that resembled eggs. We tried several tofu based recipes that we liked and then decided to add some Mexican flavors! What we came up with was one of our favorites and one that CAN be made ahead and enjoyed for days in a variety of ways. We hope you enjoy this Mexican Tofu Scramble this week for breakfast!!
Ingredients (make 4-5 servings) 2 tsp nutritional yeast ½ tsp turmeric ½ tsp smoked paprika ⅛ tsp black pepper 2 T water 1 T olive oil 1 small onion chopped 2 cloves of garlic chopped 1 block of extra firm tofu pressed to release moisture 2-3 T taco seasoning Salt to taste 2 T chopped cilantro 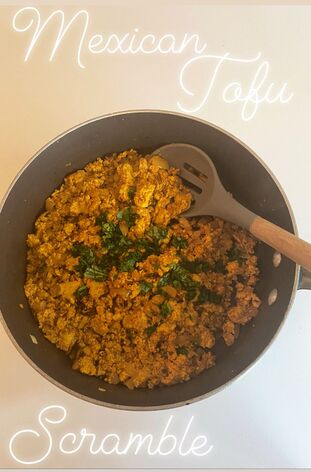
Directions
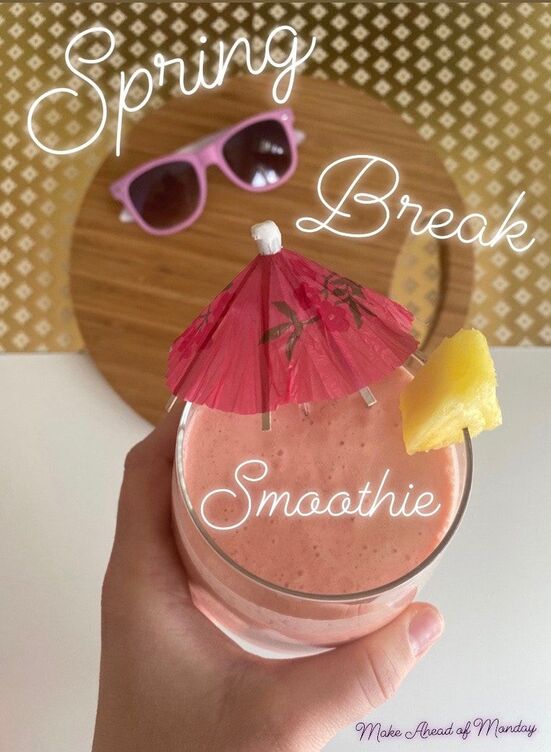
Raise your hand if spring break is not going as you had planned... everyone, ok, that's what I thought. I was talking to my Grandma (on the phone), and she said, “in all my 80 years of life, I have never experienced anything like what is happening now.” The world has stopped. Flights have been canceled, schools are online, restaurants are closed, beaches and parks are closed and the Kennedy Expressway is WIDE open (I promise, that NEVER happens!) I found myself looking through an endless stream of photos from spring breaks of the past and checking the weather hour by hour for some kind of sign that spring was going to join us when it hit me. What are the flavors of “spring break?” Why can’t I at least recreate one of the 5 senses of Spring Break? Is it, fresh pineapple by the beach? Or coconut water straight from the coconut? Or strawberry daiquiris? Check, check and check! I got to work and created the easiest and most delicious Spring Break Smoothie! I promise, if you sip it slowly enough, lay your beach towel down and sit by the window (add sunglasses for effect) and close your eyes, you’re ON THAT BEACH! I know it’s not my normal, prepare for your week ahead, recipe. BUT, this will hopefully bring you some sunshine on a cloudy day. Enjoy!
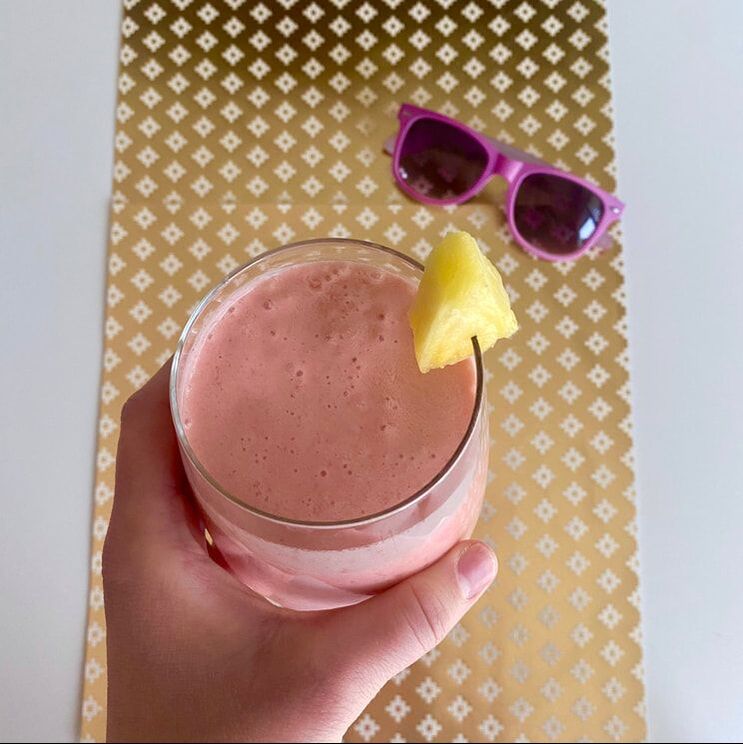
Ingredients (smoothie for one)
1 cup of canned coconut milk 1 cup of fresh or frozen pineapple ½ cup of frozen strawberries 2 ice cubes Directions
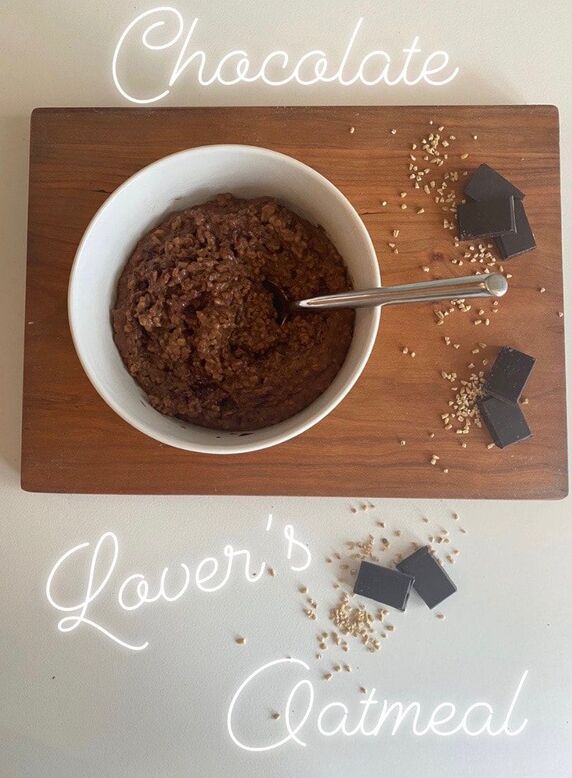
This recipe is dedicated to my chocolate loving best friend, Traci. I have countless fun memories of Traci and I going to chocolate shops in college together, sharing chocolate desserts at the Walnut room, drinking sipping chocolate on our yearly reunions and making chocolate desserts in our college apartment kitchen. When we were in Portland together this fall, I was wandering around alone and I found THE BEST chocolate shop. It was wall to wall chocolate!! I wanted to create this recipe for Traci to eat for breakfast during her birthday week. I wish we didn't live so far way so I could make this for her on her on her birthday morning, just like the good old days when we lived together. (Happy Birthday Traci!) I hope you all enjoy this super easy Chocolate Lover's Oatmeal!
Ingredients 1 Tbsp cocoa powder ½ cup steel cut oats 2 + 1/4 cups of unsweetened non dairy milk ½ tsp vanilla 2 tsp maple syrup (or to taste) 1 small square of dark chocolate (optional, but amazing) 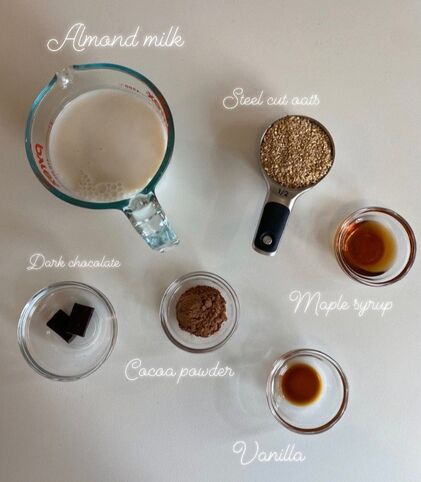
Directions (makes two servings)
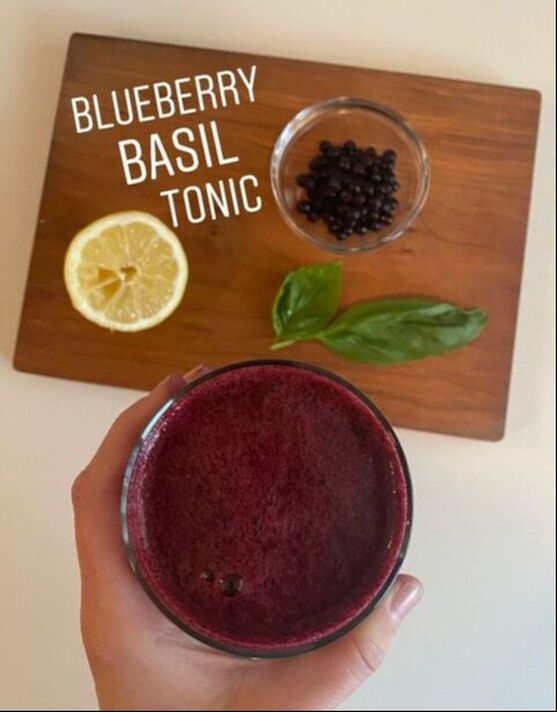
I have a very fond memory of going to Chicago with my cousins from Arizona, my sister and my mom and grandma a few years ago. We stopped at Eataly and enjoyed an Italian lunch and then wandered around the sweets floor. We happened upon a drink that featured basil and blueberries and I'll never forgot how refreshing and energizing that made me feel. I decided to recreate it at home and have been making it ever since for a healthy source of immune boosting antioxidants. I usually make this in the summer when I have an abundance of fresh basil in my garden and when fresh blueberries are in season, however, in light of the Coronavirus and flu that have us all feeling panic, I thought that it would be a good time to share this tonic. Blueberries are some of the most nutrient dense berries and I love using wild blueberries because they are even richer in antioxidants!! (see article)
Even though most of us are not headed into our normal work routine this week, I thought it was still important to share a recipe in hopes that it could provide comfort for your week(s) ahead at home. Taking care of our bodies is so incredibly important during this time of uncertainty. Stay healthy everyone! 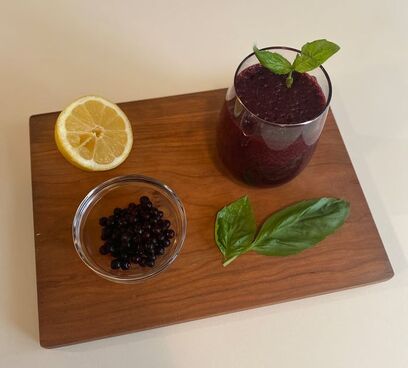
Ingredients (makes one tonic) 1 cup fresh or frozen wild blueberries ¼ cup packed fresh basil leaves Juice from ½ of a lemon 1 cup of filtered water 2 ice cubes Directions Place all of the ingredients in a high speed blender and blend on high until juice like consistency is achieved. Enjoy immediately or assemble in the evening, store in the fridge and re-blend in the morning. 
My first memory of cooking, with my now husband, is of him making his Thai Curry pizza creation for me. He showed such pride in this dish and the results were incredibly yummy and unique. Think, stir fry + crispy crust pizza!! The key to achieve the crispiest crust is to slide the parchment lined pizza off of the pan (but keep it on the parchment) and directly onto the oven rack. This creates the crispiest crust EVER and perfectly stands up to the heavy toppings on this pizza. We make our own crust from a recipe in a cookbook Bill has had since college, but you can easily get fresh store bought dough from Trader Joes or Whole foods with the same results! We hope you enjoy this crispy, Make ahead of Monday creation by my favorite Chef Bill!
Ingredients Fresh raw Pizza dough enough for two pizzas 1 block of extra firm tofu chopped into small cubes 1 T sesame oil Salt & pepper to taste 1 T avocado oil 2 cloves of chopped garlic 2 T of chopped fresh ginger I head of broccoli chopped into medium sized pieces 1 red bell pepper chopped 1 LB baby bella mushrooms sliced 1 bottle of Thai Red Curry sauce (We used Trader Joe’s brand) 3 green onions chopped Toasted sesame seeds Suggested Toppings Hoisin Sauce Sriracha
Directions
|
AuthorI am a music teacher, professional musician and a vegetarian. I created this site with the mission to share recipes that make life a little more organized, and enjoyable! Archives
January 2022
Categories
All
|
 RSS Feed